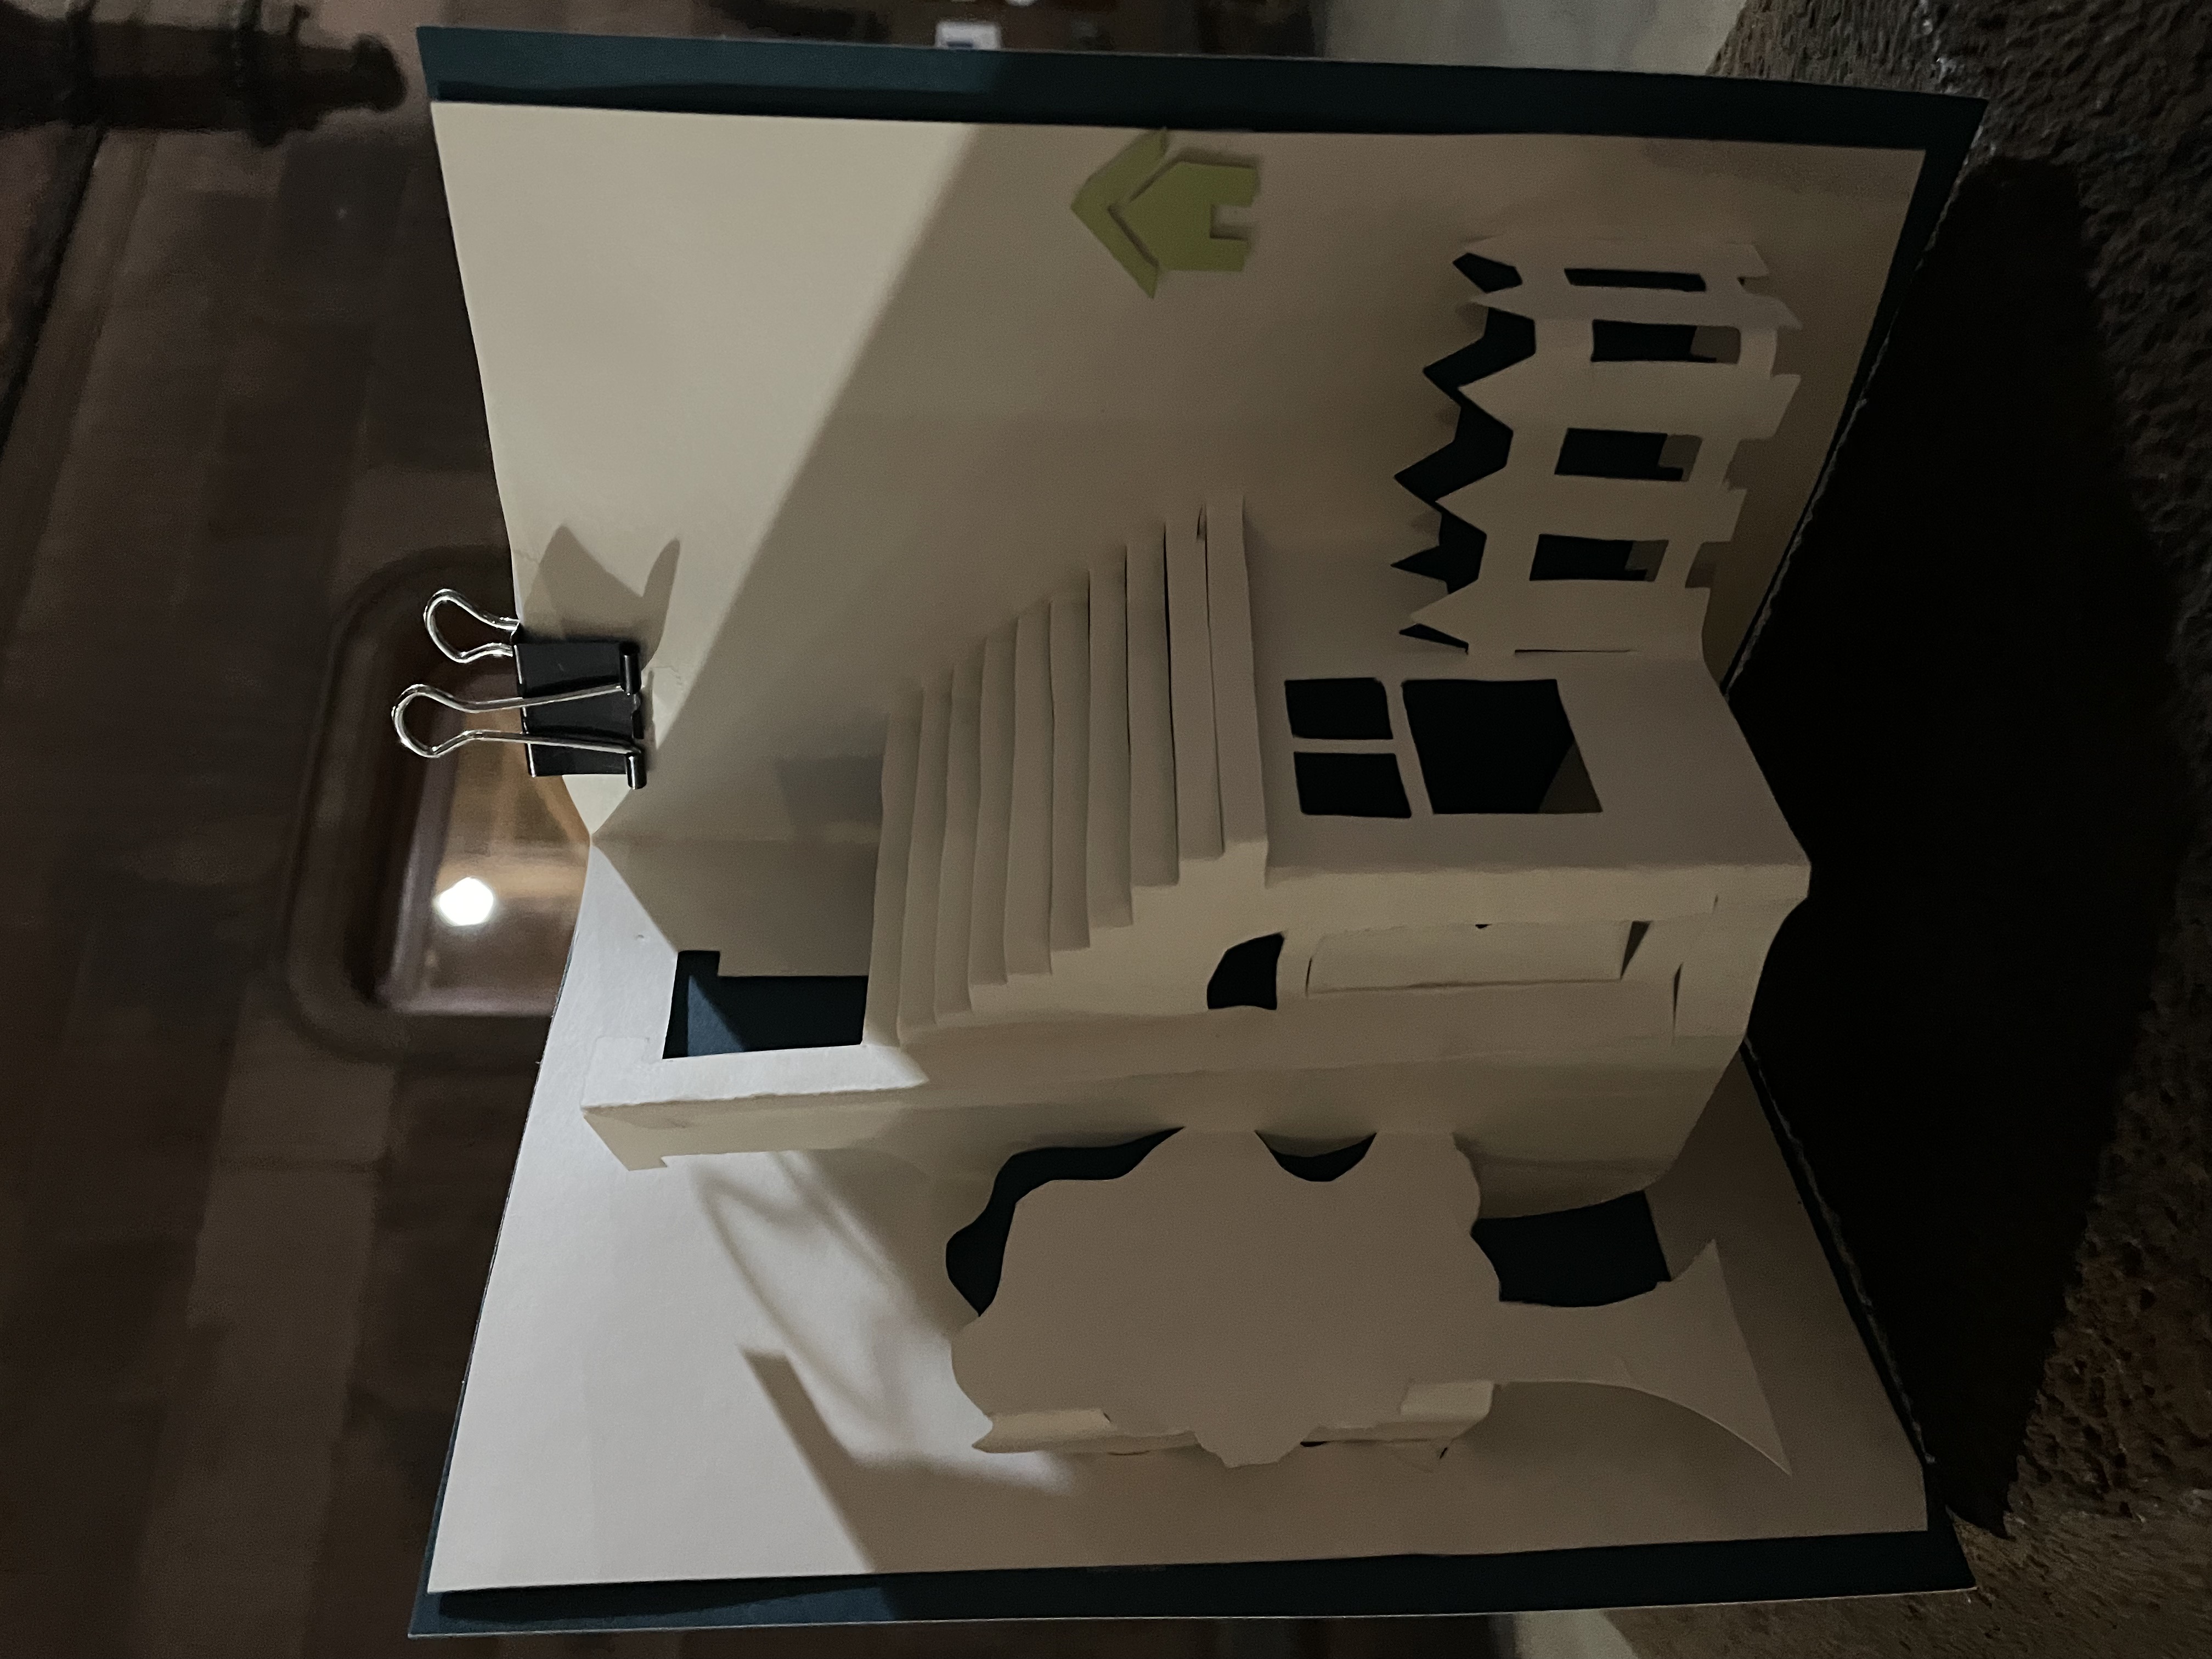

Light Up Greeting Card
This project is required to use at least two LEDs or one RGB LED and includes a way to turn the circuit on or off.
Design Process Documentation
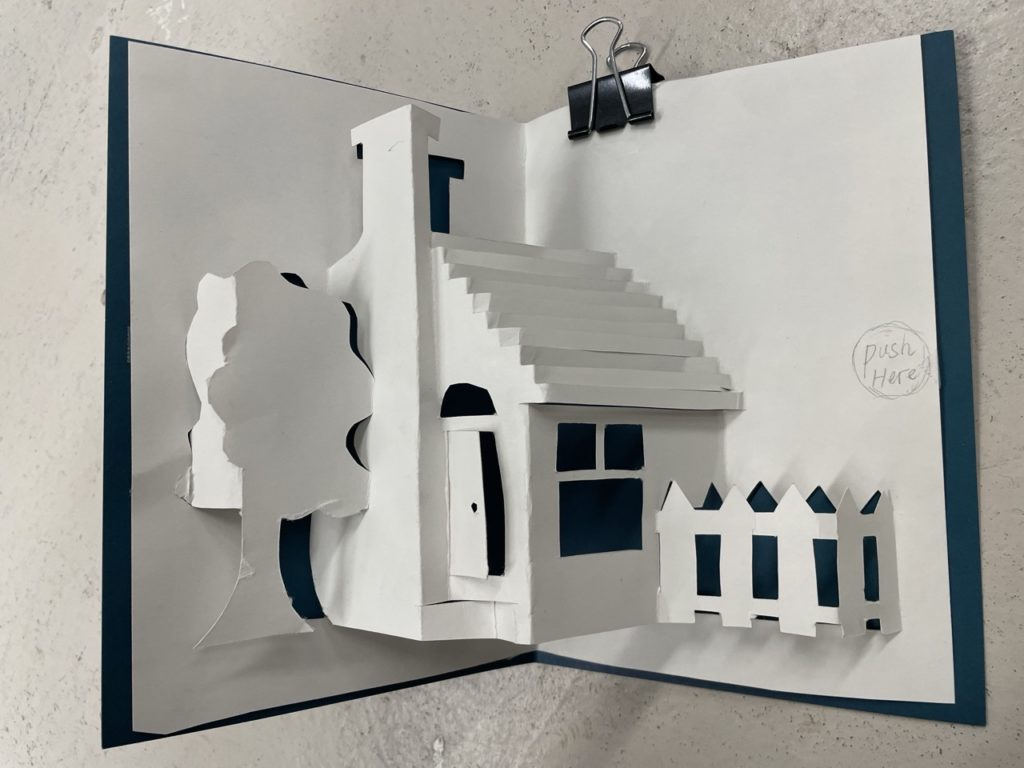
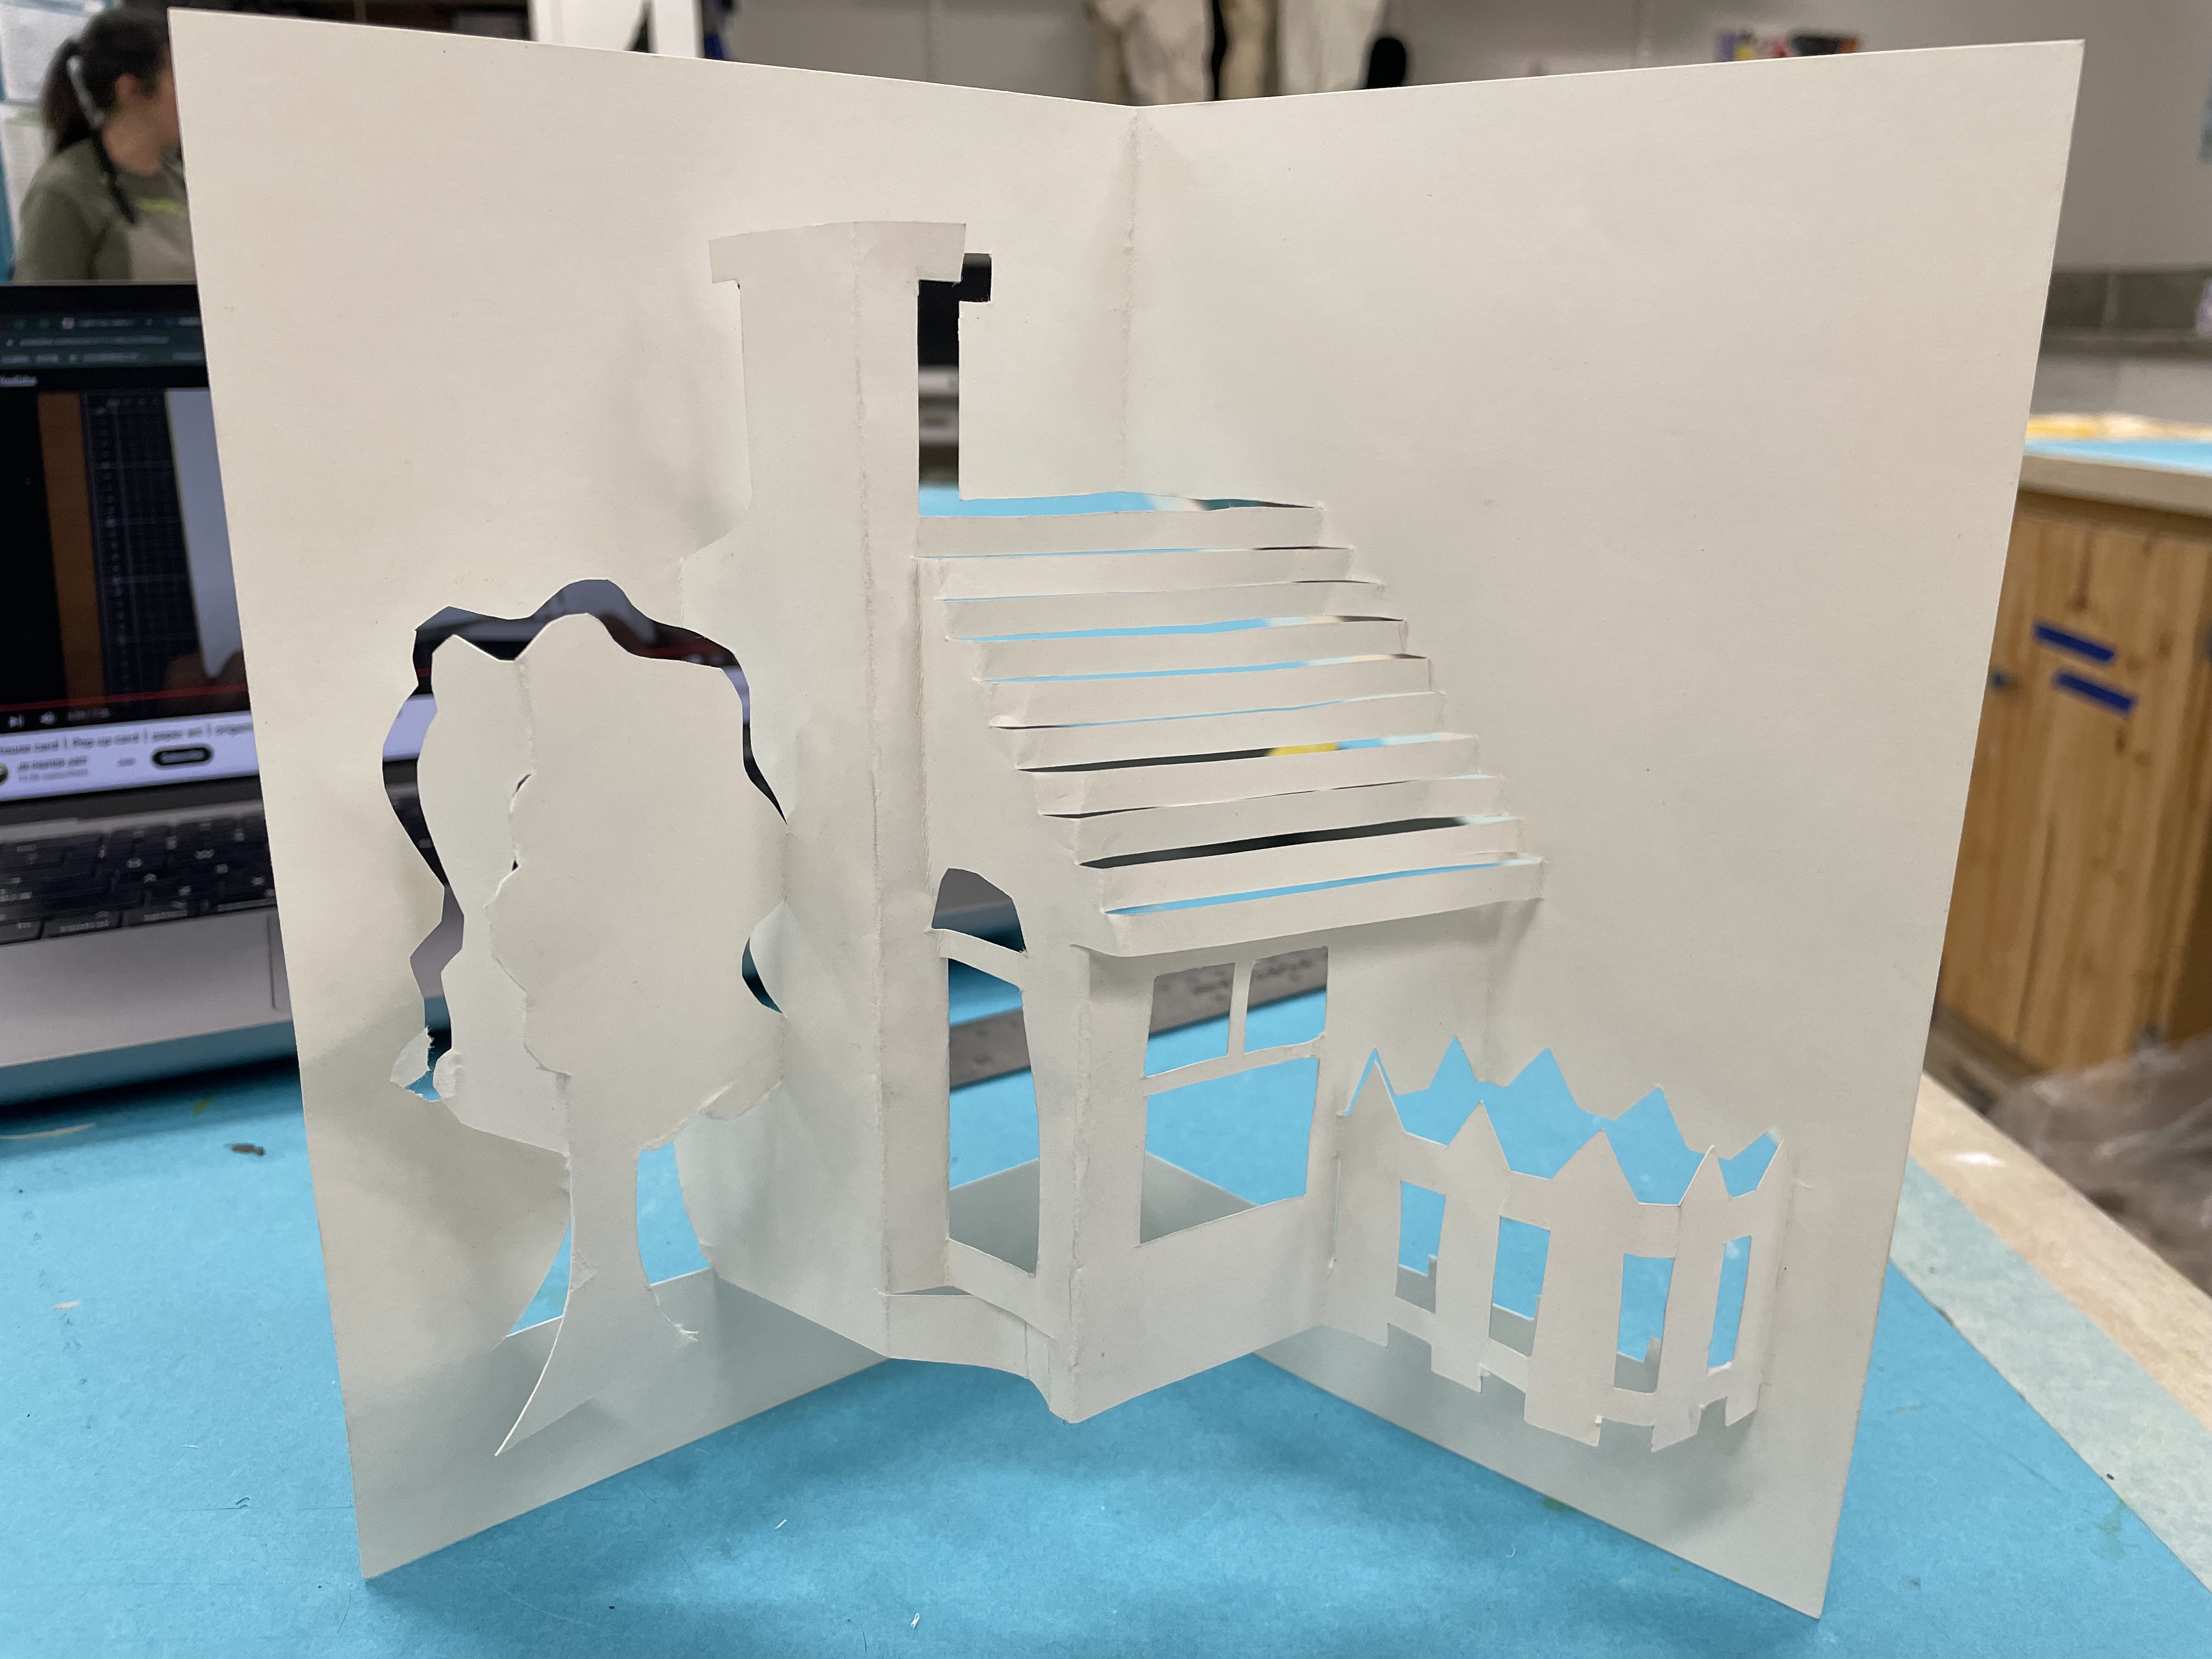
During the design process for my greeting card, my first step involved designing a pop-up feature.
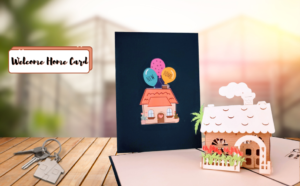
To begin with, I think about the general theme that I want to express through the card, which in this case is “welcome home”. I strive to create a warm and nostalgic experience for the audience while reading the card. After browsing all kinds of “welcome home” greeting cards in the e-market like Amazon, and I am inspired by the following three examples, and I decided to go with the third one, which I believe would be a good fit for designing a greeting card incorporating LEDDuring the design process for my greeting card, my first step involved designing a pop-up feature to make the card unique and memorable. To begin with, I brainstormed the general theme that I wanted to express through the card, and “welcome home” seemed like the perfect choice. I wanted to create a warm and nostalgic experience for the audience while they read the card.
To get some inspiration, I browsed through various “welcome home” greeting cards available on e-commerce platforms like Amazon. After observing many options, I was particularly inspired by three examples, each with its unique characteristics and design elements. After careful consideration, I decided to go with the third one, which I believed would be a great fit for designing a greeting card incorporating LED lights.
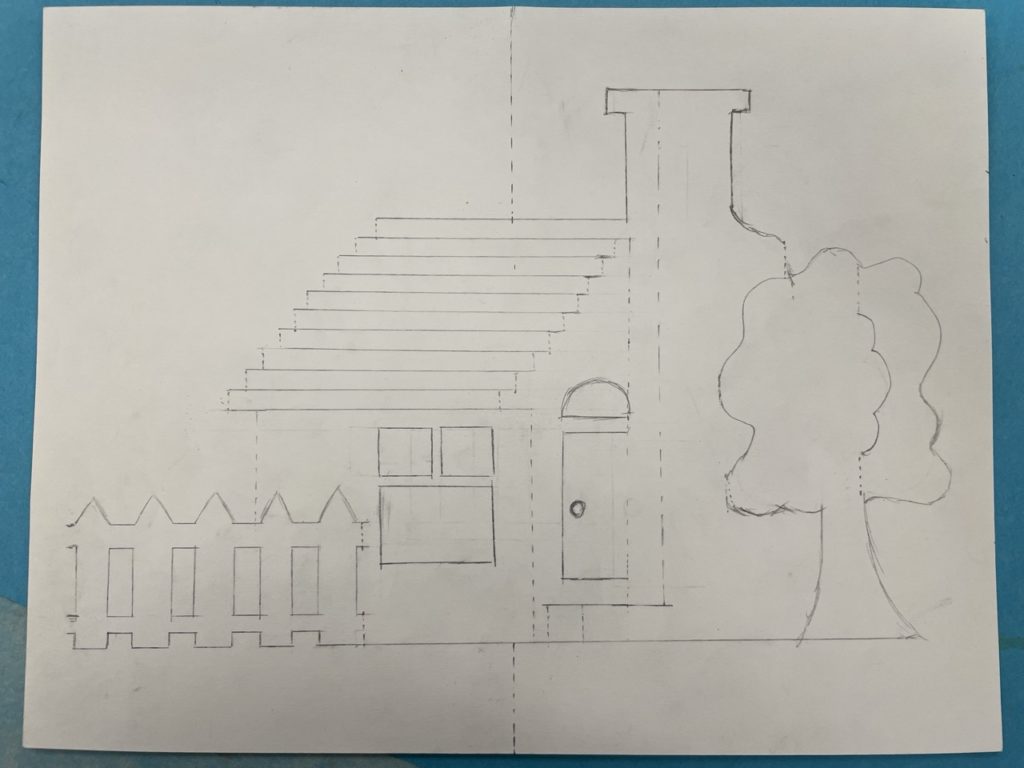
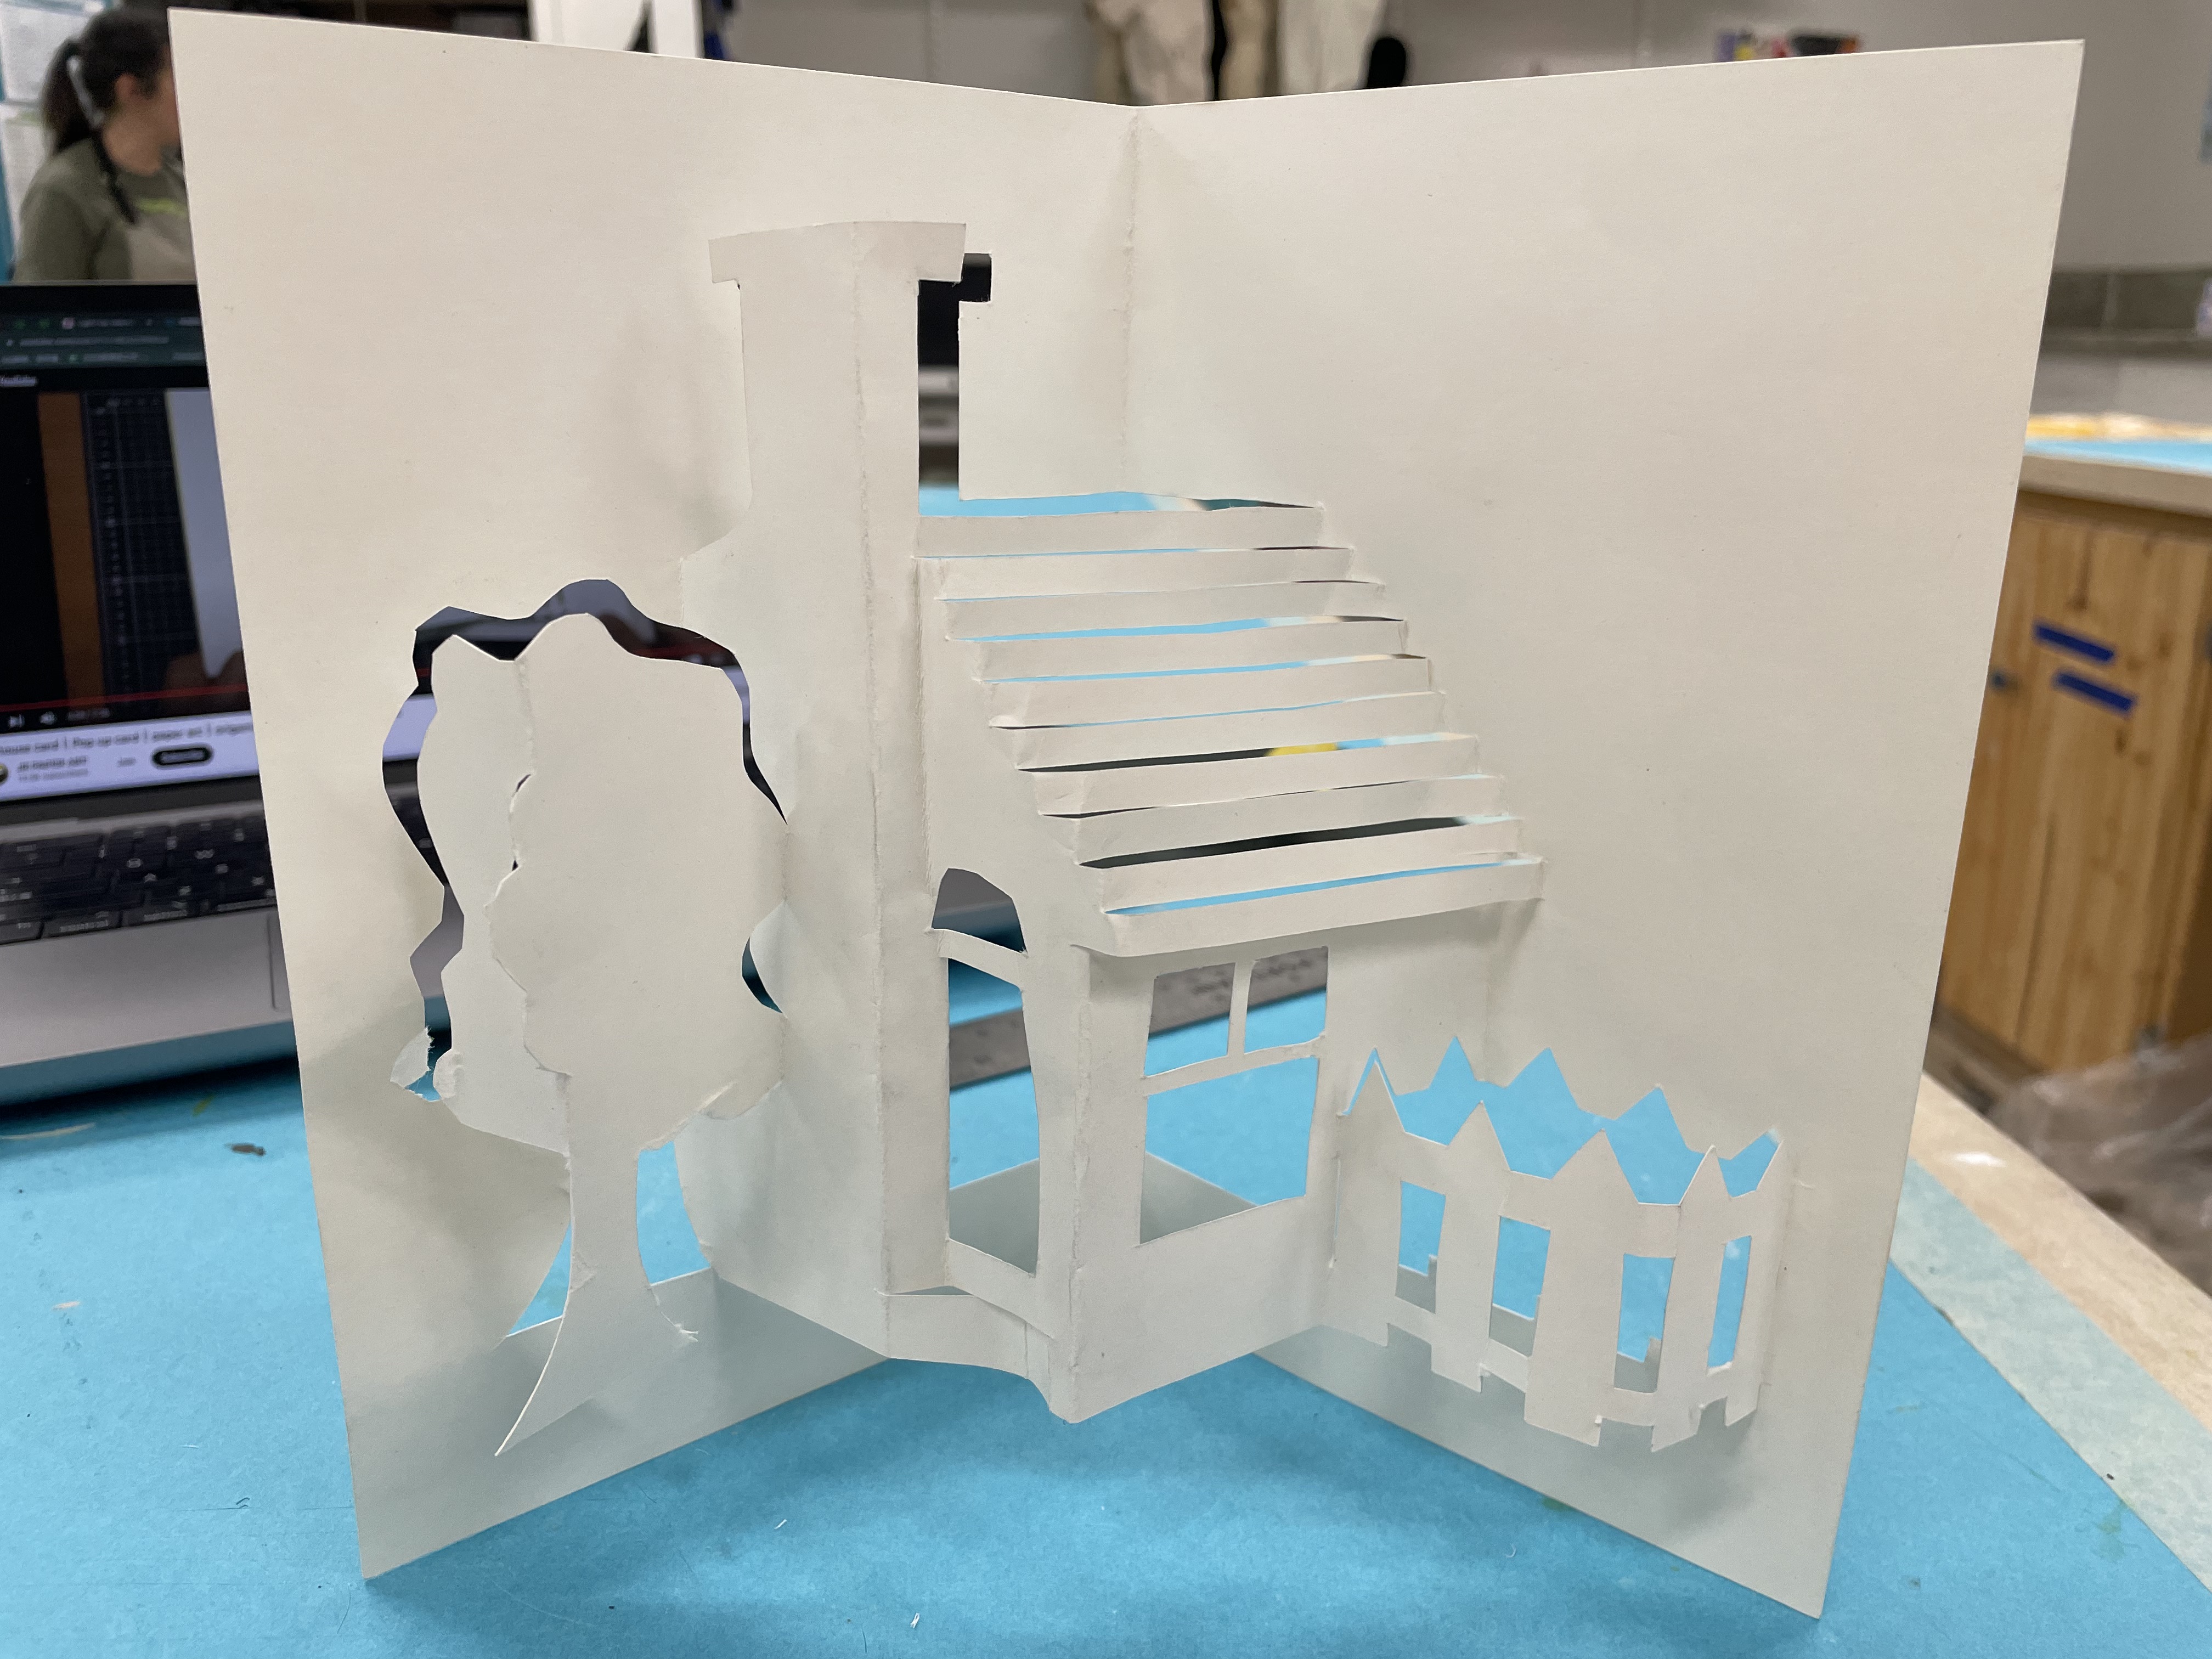
Once I had made my decision, I started sketching the general frame of the card on paper. I wanted to make sure that the pop-up feature was prominent and that the LED lights were placed strategically to complement the design. After finalizing the sketch, I cut all the edges with scissors and folded the card to create the pop-up feature.
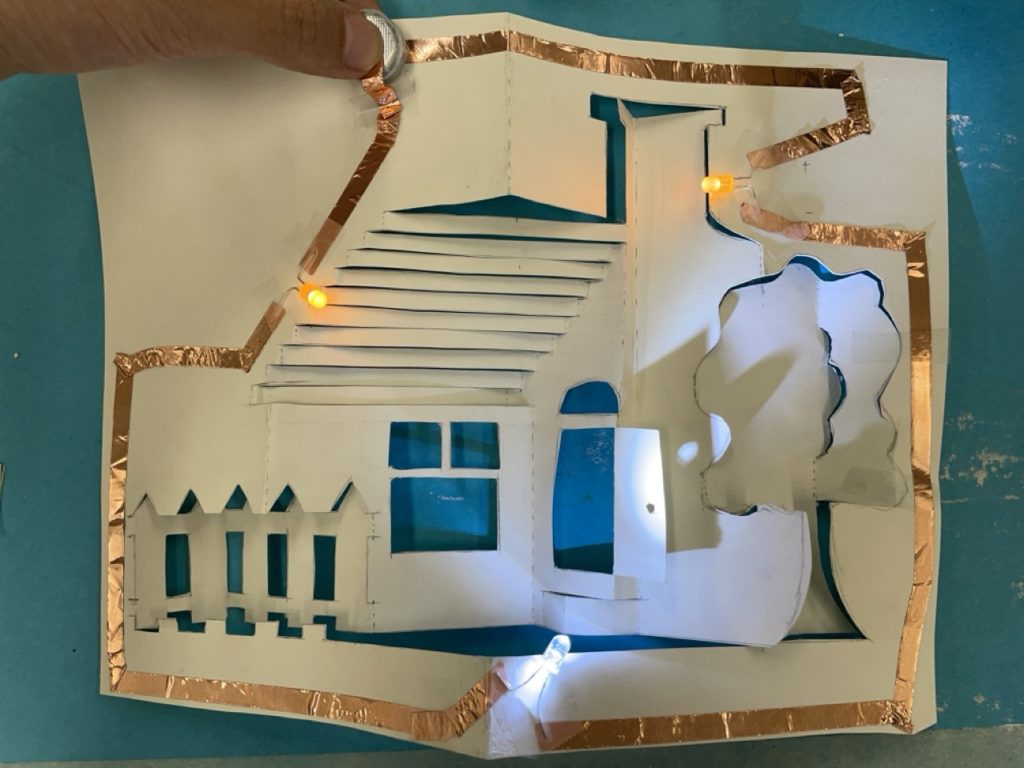
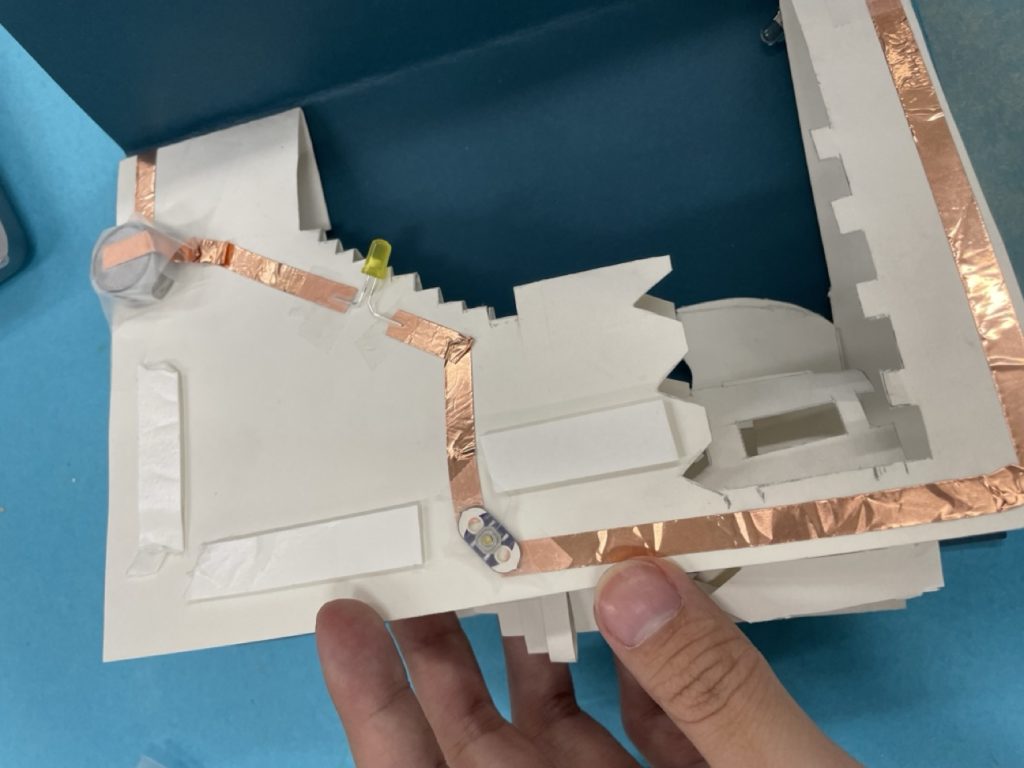
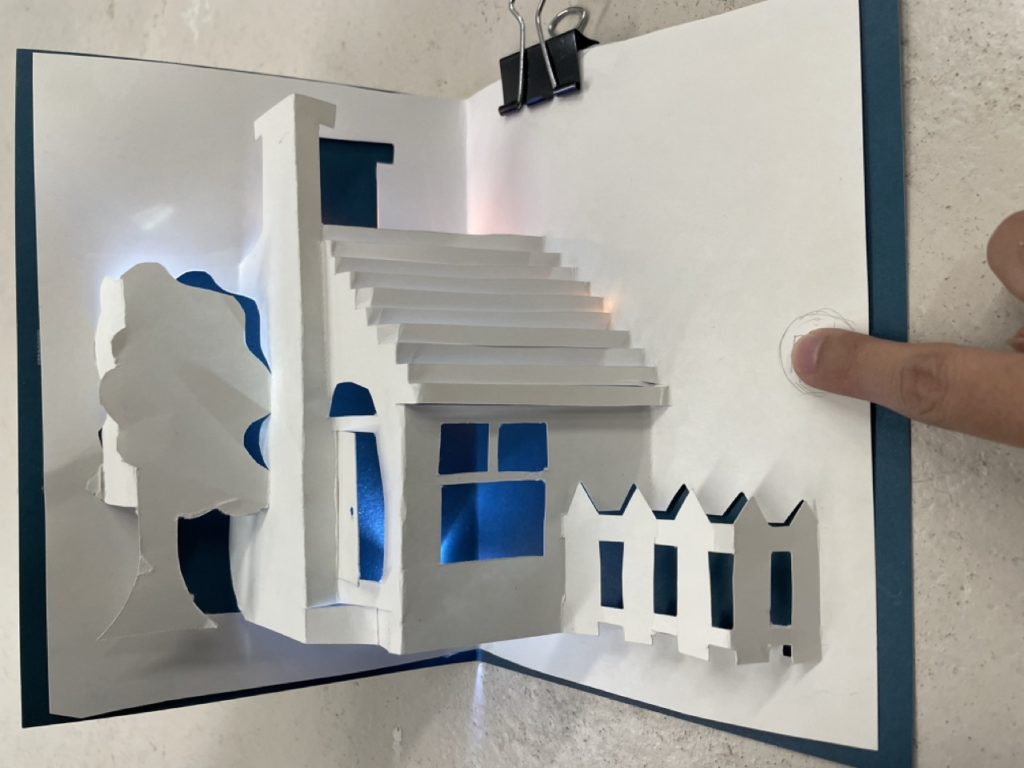
To create a paper circuit, I first proceed with the designing phase. As shown in the pictures, I use a total of 3 LED lights to illuminate the circuit. These lights include two yellow LEDs and a transparent LED, which are carefully placed to create a warm and inviting lighting atmosphere.
To make the circuit more user-friendly, I add a “switch” feature that allows the user to turn the LED light on and off as per their convenience. For this, I attach a “button” to the circuit, which is a conductive pad that can be easily pressed by the user. When the user holds the button, the circuit completes, and the LED light turns on, creating a beautiful ambiance.
This feature gives the user the flexibility to turn the lights on and off without having to physically unplug them. This way, they can enjoy the beautiful lighting effects created by the paper circuit without any hassle.
Reflection & Future Development
I am not entirely satisfied with the current output as it doesn’t match my initial vision. The materials used are limiting and I believe the atmosphere would greatly improve if I had the time and means to cover the window with half-transparent paper.
I would have liked to experiment with adding colors to the scene and incorporating pop-up elements for the text if there had been more time allocated to this project. However, for now, I have decided to stick with a minimalistic style to avoid any unnecessary distractions from the context.
Moreover, for future development, I would be looking for a more energy-saving pattern of laying out my LEDs with the circuit line. Currently, since I’m using 3 LEDs in series (they have different resistances), the batteries are draining extra fast, even though I’m already using three-button batteries in this design.
